How to design a node-based editor people can actually use
· By Maksym Cherkashyn
Node-based editors give people full control. Every model, setting and step is a box, and you wire the boxes together. That is why experts love tools like ComfyUI. It is also why many new users close them within minutes: an empty canvas and a long list of node types is not a starting point.
Nodity, a US startup, set out to build a better version of ComfyUI: full control over AI models through nodes, without the setup. This article follows the design decisions behind it, as a method for any product that has to be both powerful and easy to start with.
Nodity is client work. Facts and numbers below come from the published Nodity case.
Remove the setup before you touch the interface
Much of what makes node tools hard has nothing to do with the canvas. It is installing, downloading large models and sending files back and forth. Nodity’s first decision was to be a web platform: files are shared instantly, teammates edit together, and nobody has to download large models.
Before you redesign a single screen, list everything a user must do before their first result. Each step you remove there is worth more than any polish later.
Start with one node, and hide the rest
The first thing a user meets is one node: enter a prompt, get a result. Detailed settings such as the model, iterations, creativity, seed and style live in a side panel that opens only when needed.
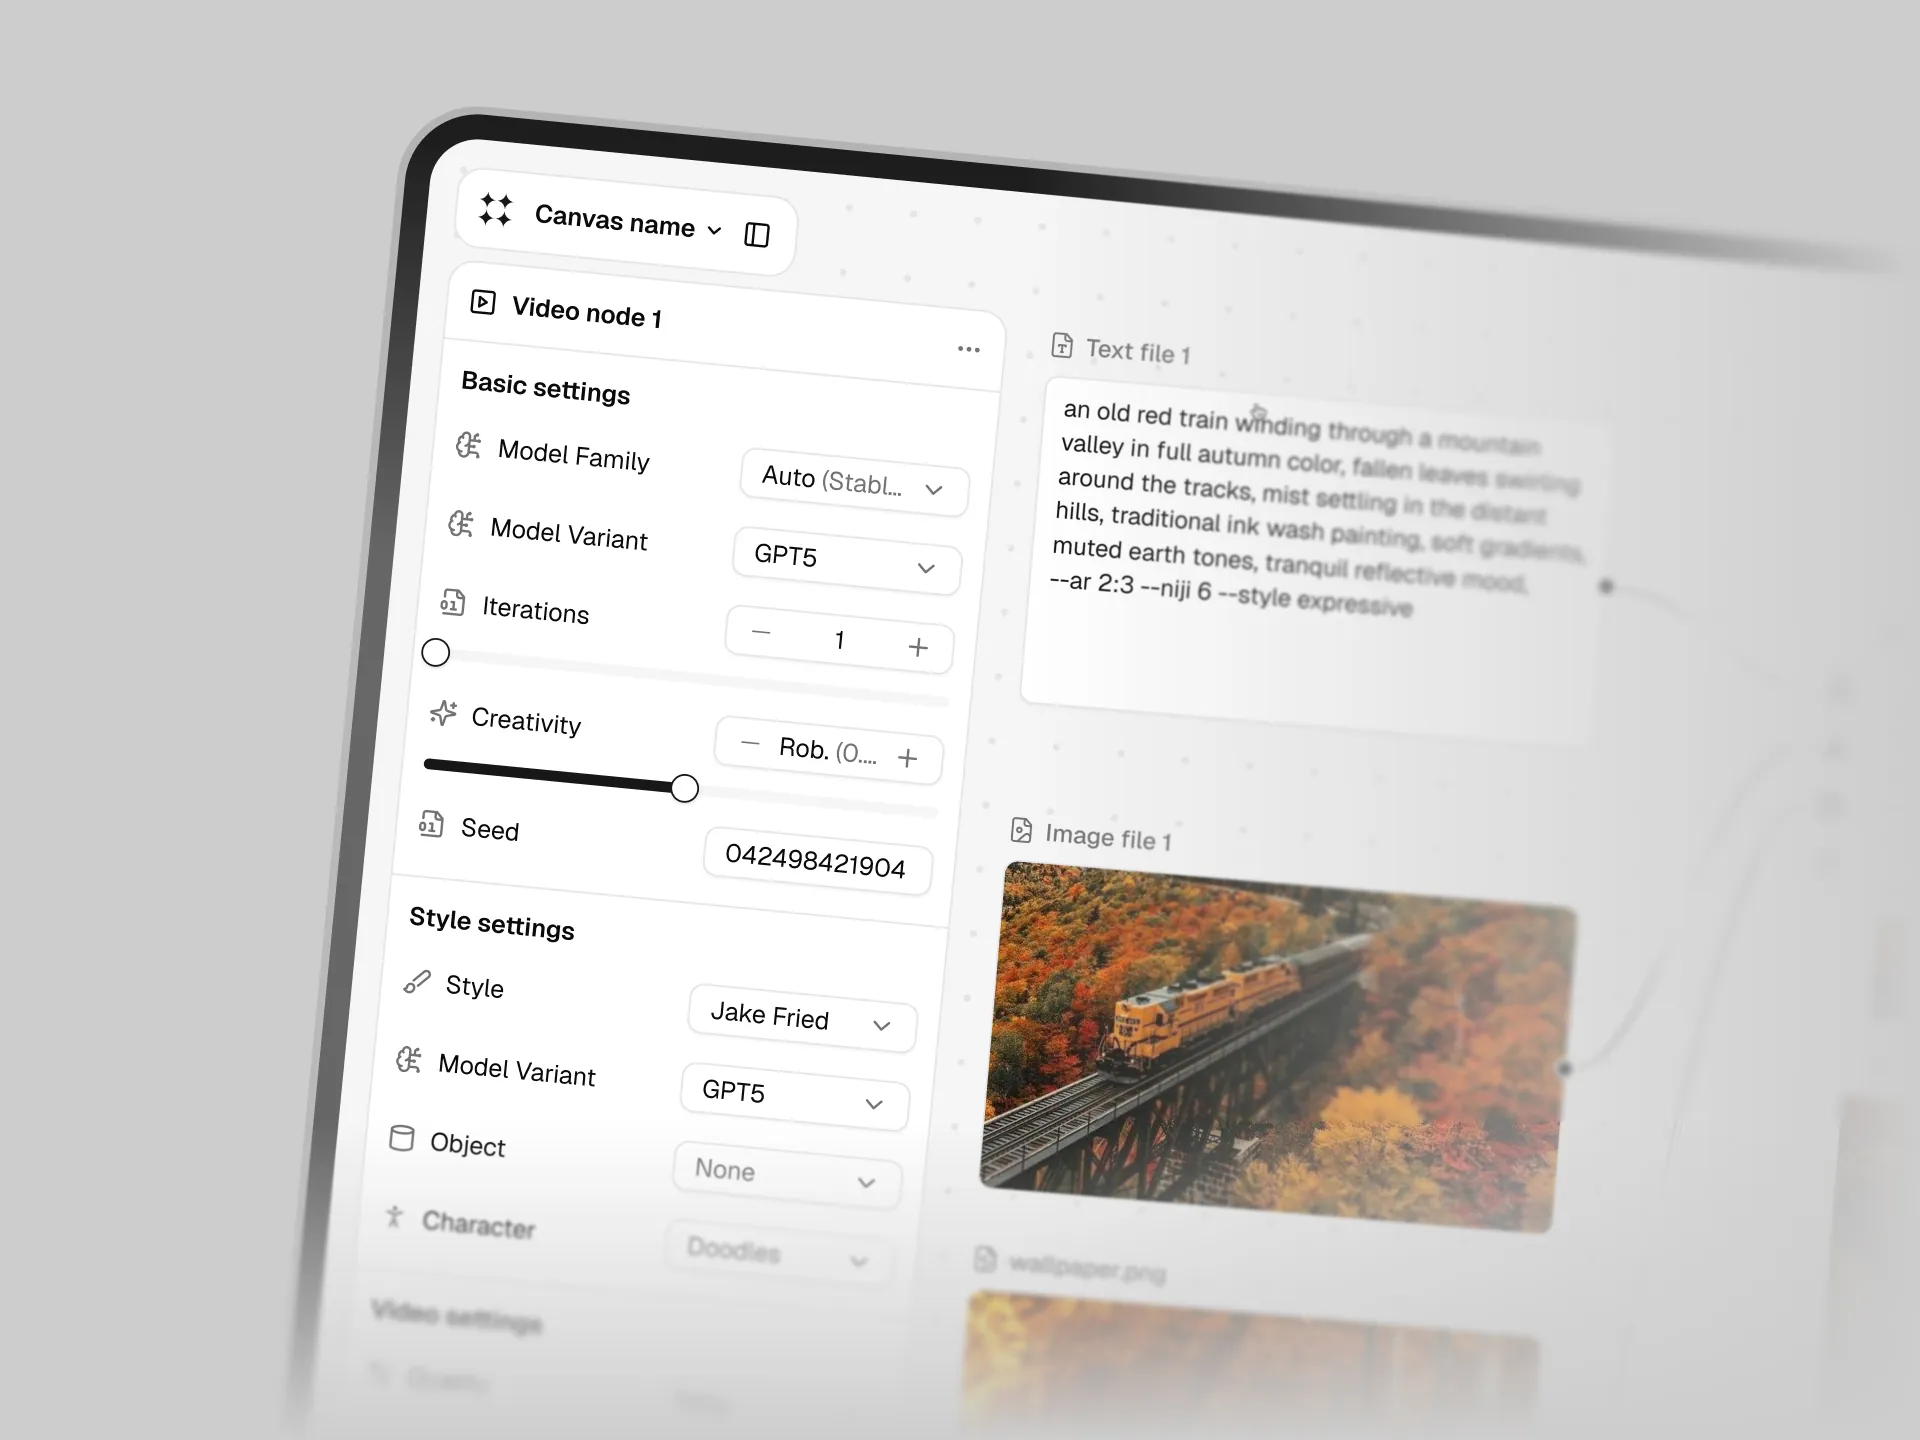
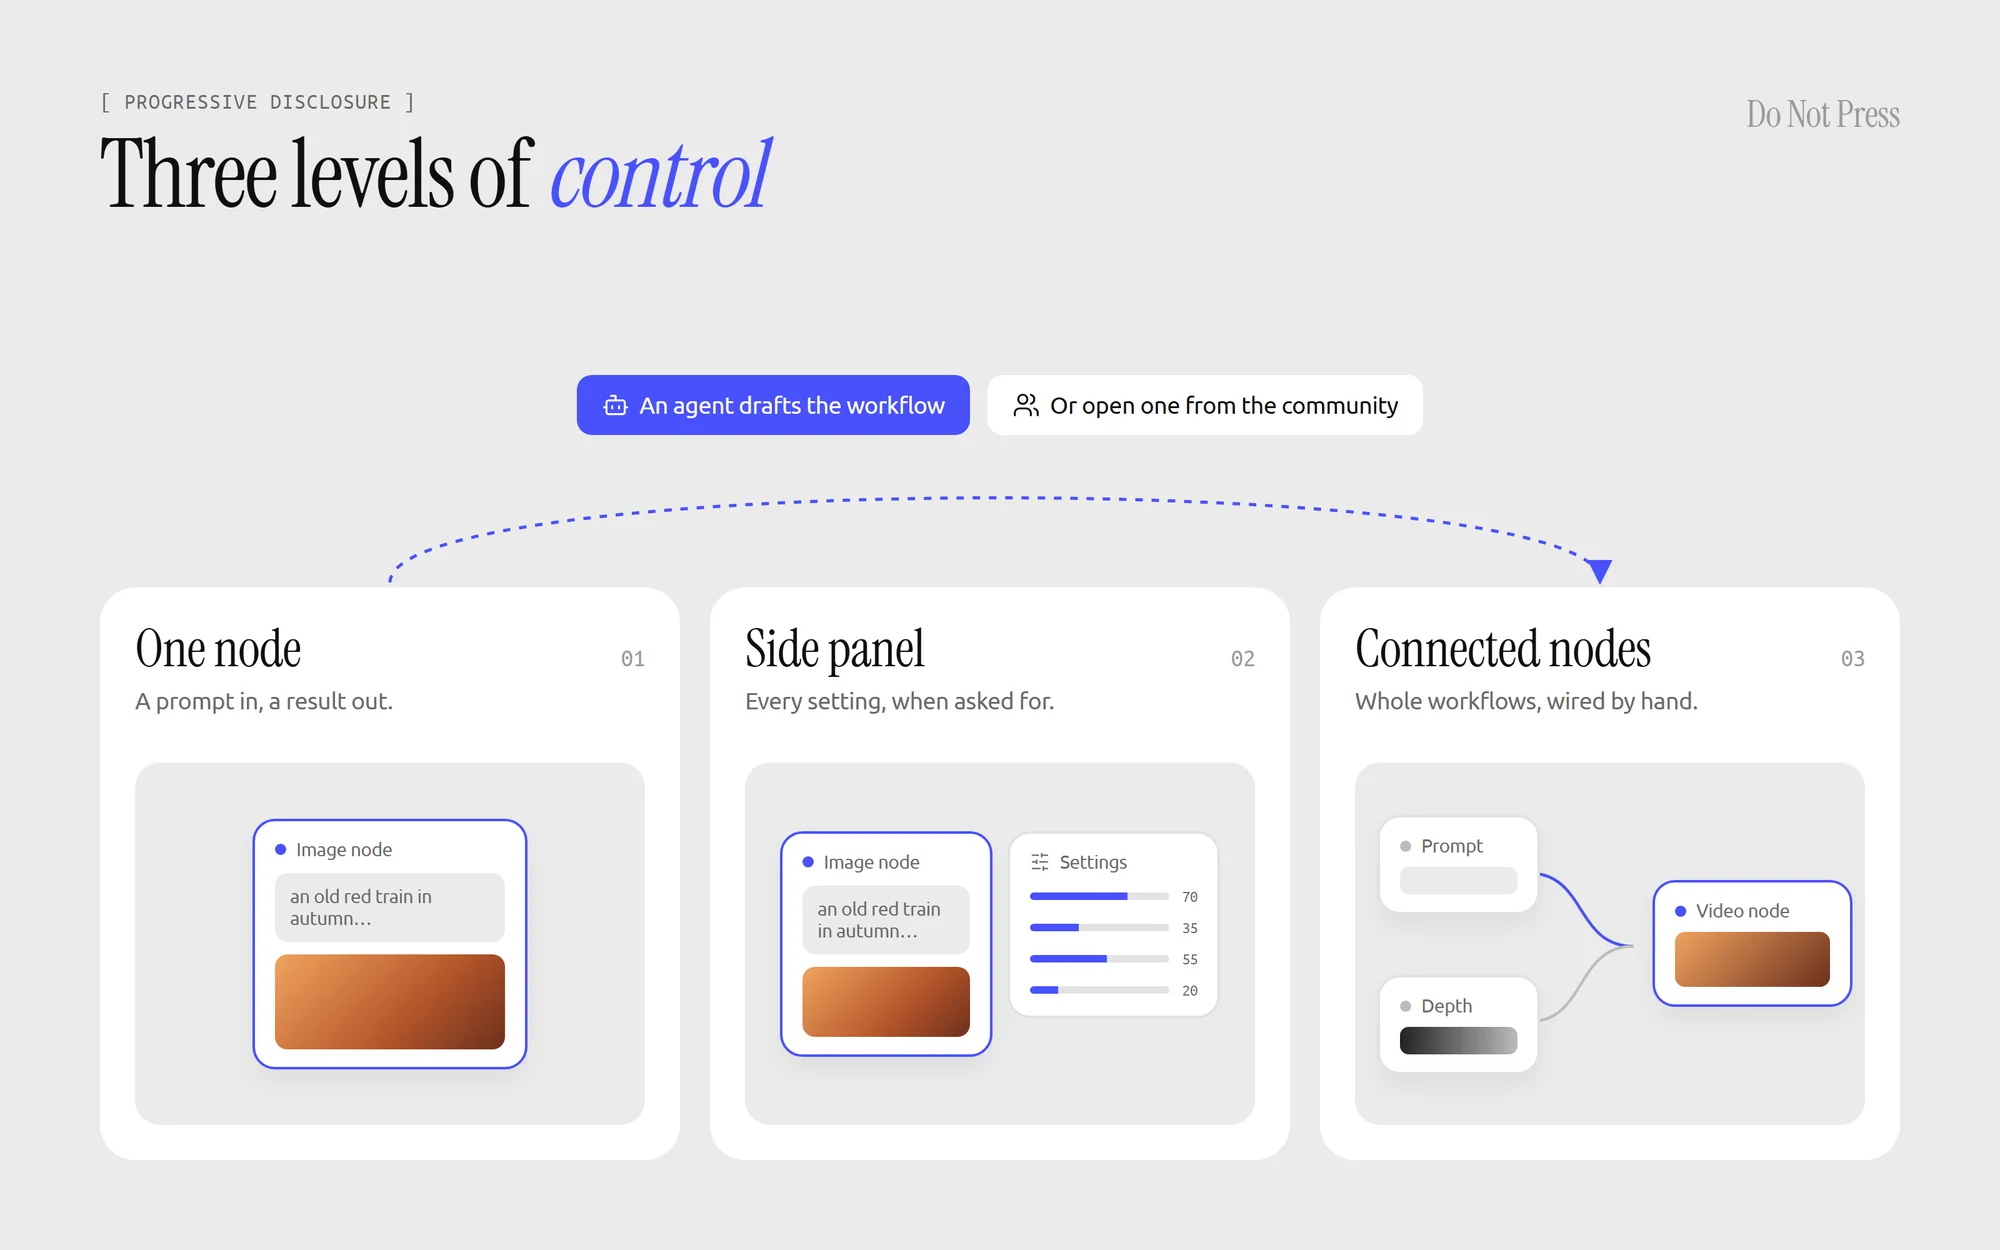
This is progressive disclosure: show the simplest useful version first, and reveal more control as the user asks for it. In a node editor it has three levels.
- One node: a prompt and a result.
- The side panel: every setting of that node.
- Connected nodes: workflows, built by wiring nodes together.
Let an agent draft the workflow
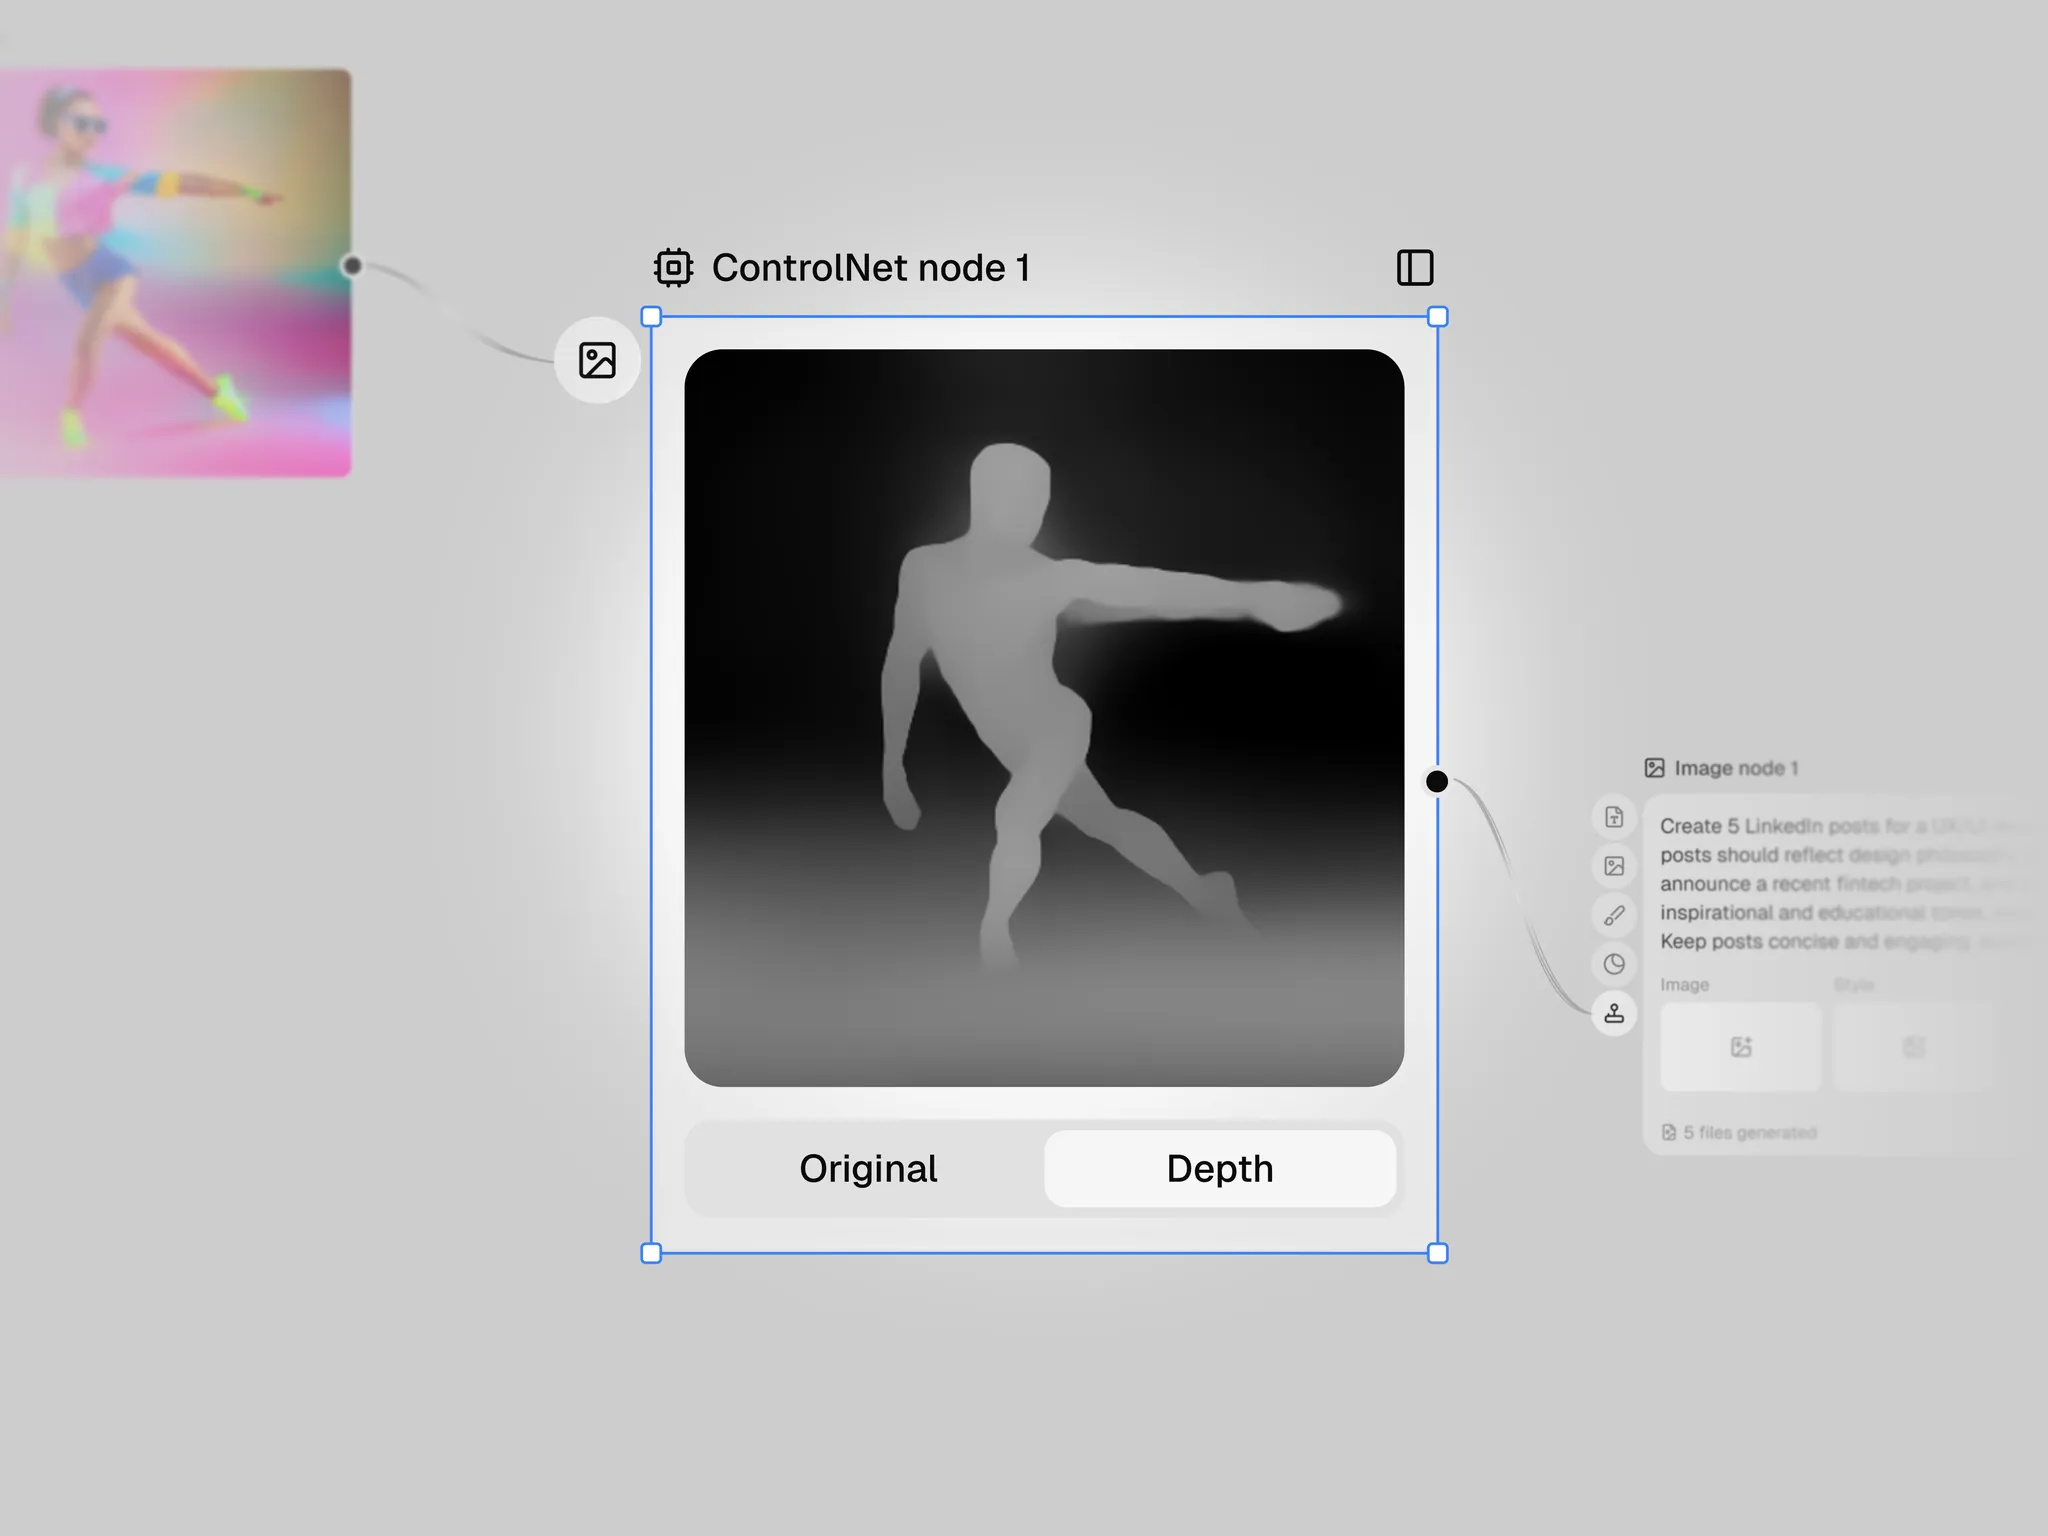
The hardest moment in a node editor is the blank canvas. Nodity’s answer is an AI agent that builds a workflow from a few words. The user adds references, answers a few short questions about what they need, and picks one of the options the agent suggests, for example a better option and a cheaper one, each with its cost in credits.
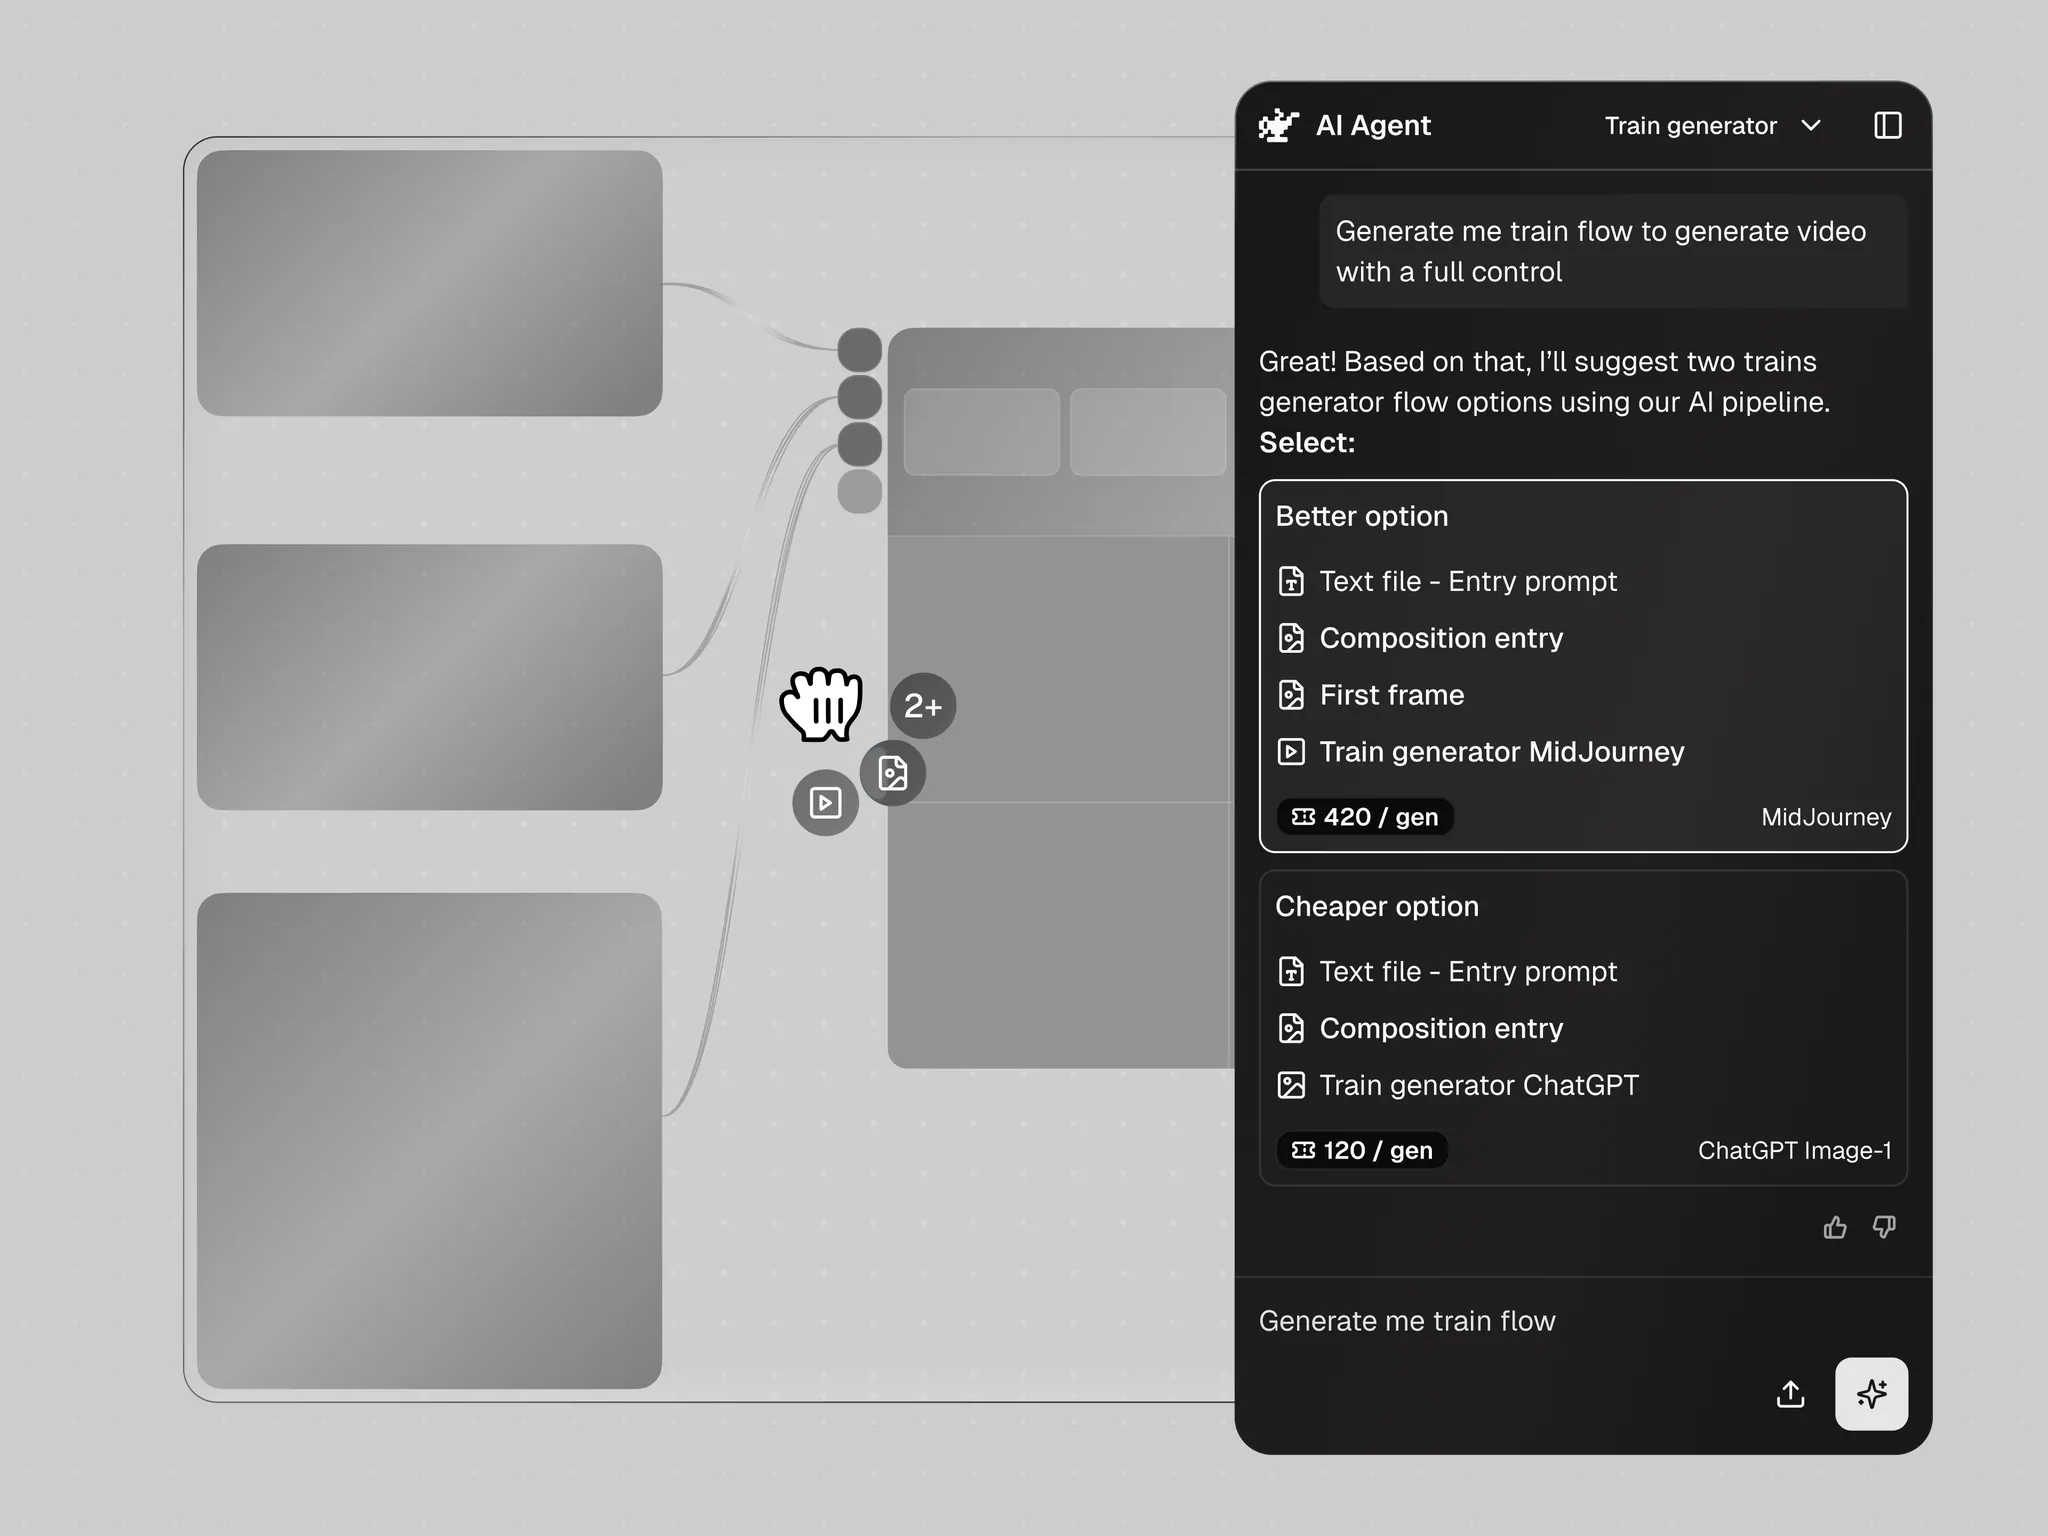
The important part is what comes after. The agent’s result is an ordinary workflow, made of the same nodes, and fully editable. The agent is a starting point, not a black box. That keeps the system simple for beginners and fully customisable for experts.
Borrow from the community
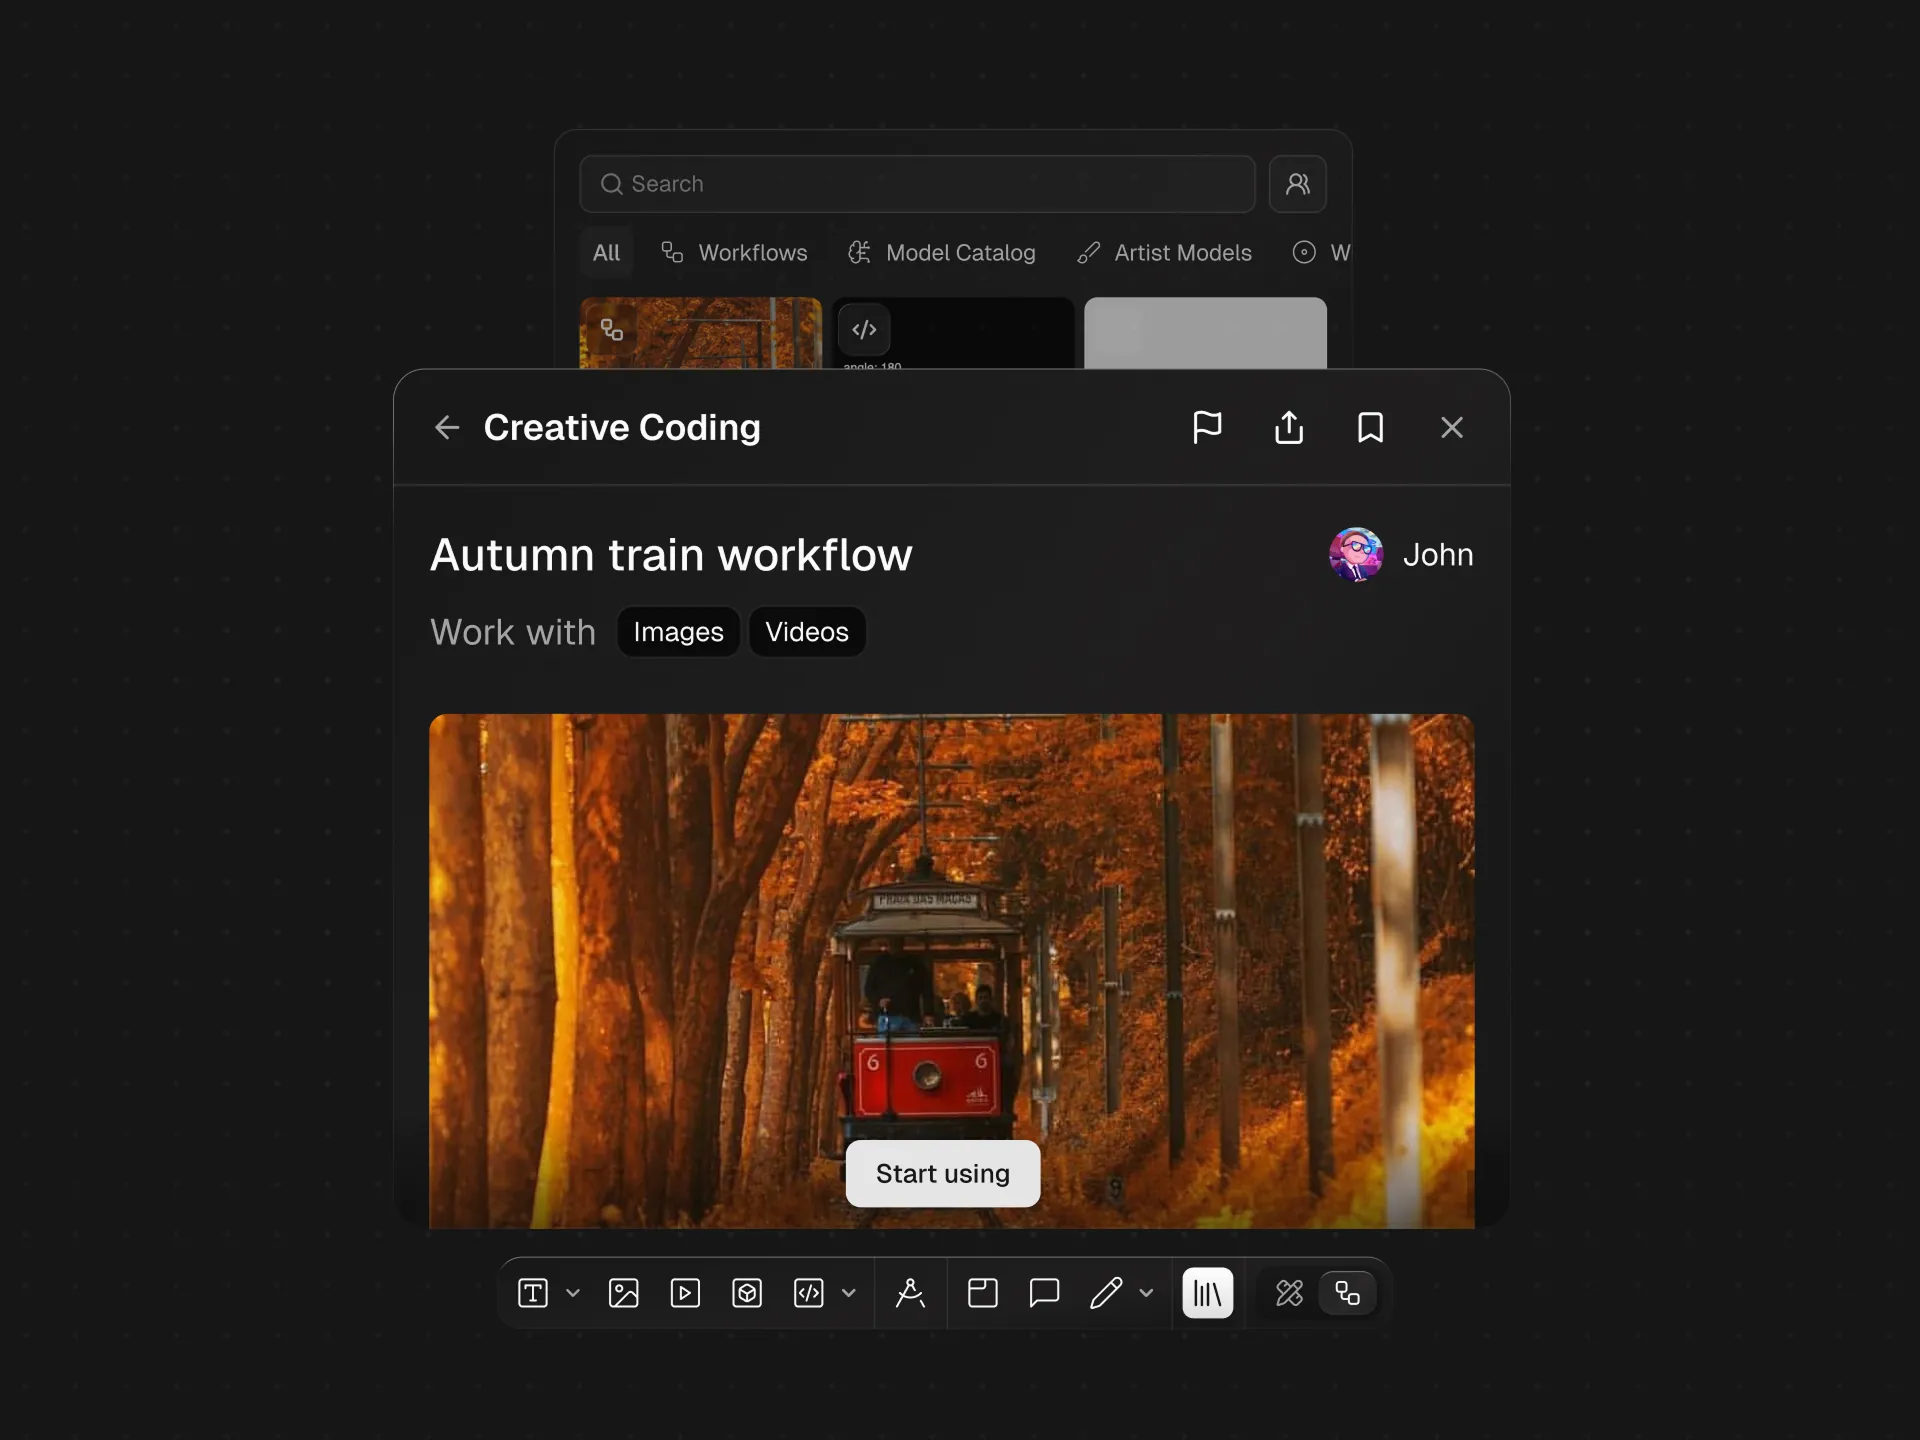
The second way past the blank canvas is someone else’s work. In Nodity’s community catalogue, a ready workflow opens with one click, with no manual download or setup. Authors can publish their own workflows and earn from them, because the platform shares revenue with them, and that keeps the catalogue growing.
Measure tasks, not opinions
For a tool like this, the useful test is task success: give people a real task and count how many finish it. The published case reports 80% success at building a workflow from nodes and 92% at training a LoRA. The product gathered 40K waitlist sign-ups, and it was sold to ComfyUI, where it is being adapted as ComfyUI Cloud.
Pick the two or three tasks that define your product, test them on every major version, and watch the numbers, not only the comments.
Checklist for powerful tools
- List every step before the first result, and remove what you can.
- Open with the simplest useful version: one node, one result.
- Put detail in a side panel, not on the canvas.
- Offer two ways past the blank canvas: an agent and ready templates.
- Make anything the agent builds fully editable, from the same parts.
- Reward the people who make templates.
- Measure task success on the two or three tasks that define the product.
See the nodes, the agent and the community screens in the Nodity case. If your product is powerful but hard to start with, let’s talk.
The worked example
Nodity - node based AI editor: A US startup which is providing full control on AI models with nodes system.